Headlights with SPDT Switch
A customer emailed us to ask how he could control his parking lights, headlights and high-beams from a single switch on his dash. He wanted to use a toggle switch with three positions: down for head lights, up for high-beams and off in the center. When either the headlights or high-beams were on, he wants his parking lights on. This is really easy to do with our Infinitybox system. Check out the details below to see how easy it is to wire your headlights with a SPDT switch.
There are many different types of toggle switches. The major categories are sorted into the number of positions or throws of the switch and the number of poles or contacts. A single throw switch was two positions. These are designated as single throw or ST. A three position switch has two throws from the center position: one up and one down. These are designated as DT for double throw switches.
The number of poles on a switch designates the number of contacts. The most common is single pole. This means that each position on the switch is connected back to a common point with a single terminal. These are designated as SP switches for single pole. The more complicated switch is double pole. These have two terminals for each position or throw of the switch. This link will take you to a good Wikipedia article that talks about switches in more detail.
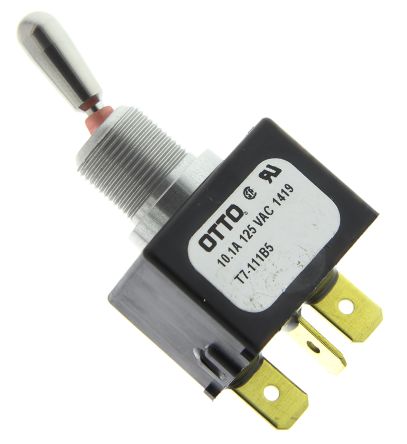
For this application, our customer needs a SPDT switch. This is a single pole, double throw switch. The switch has three positions: off in the center and on in the up and down positions. It has a single pole for each position. This diagram will show you how to wire MASTERCELL inputs to control the headlights and high-beams off of this Single Pole, Double Throw Switch.
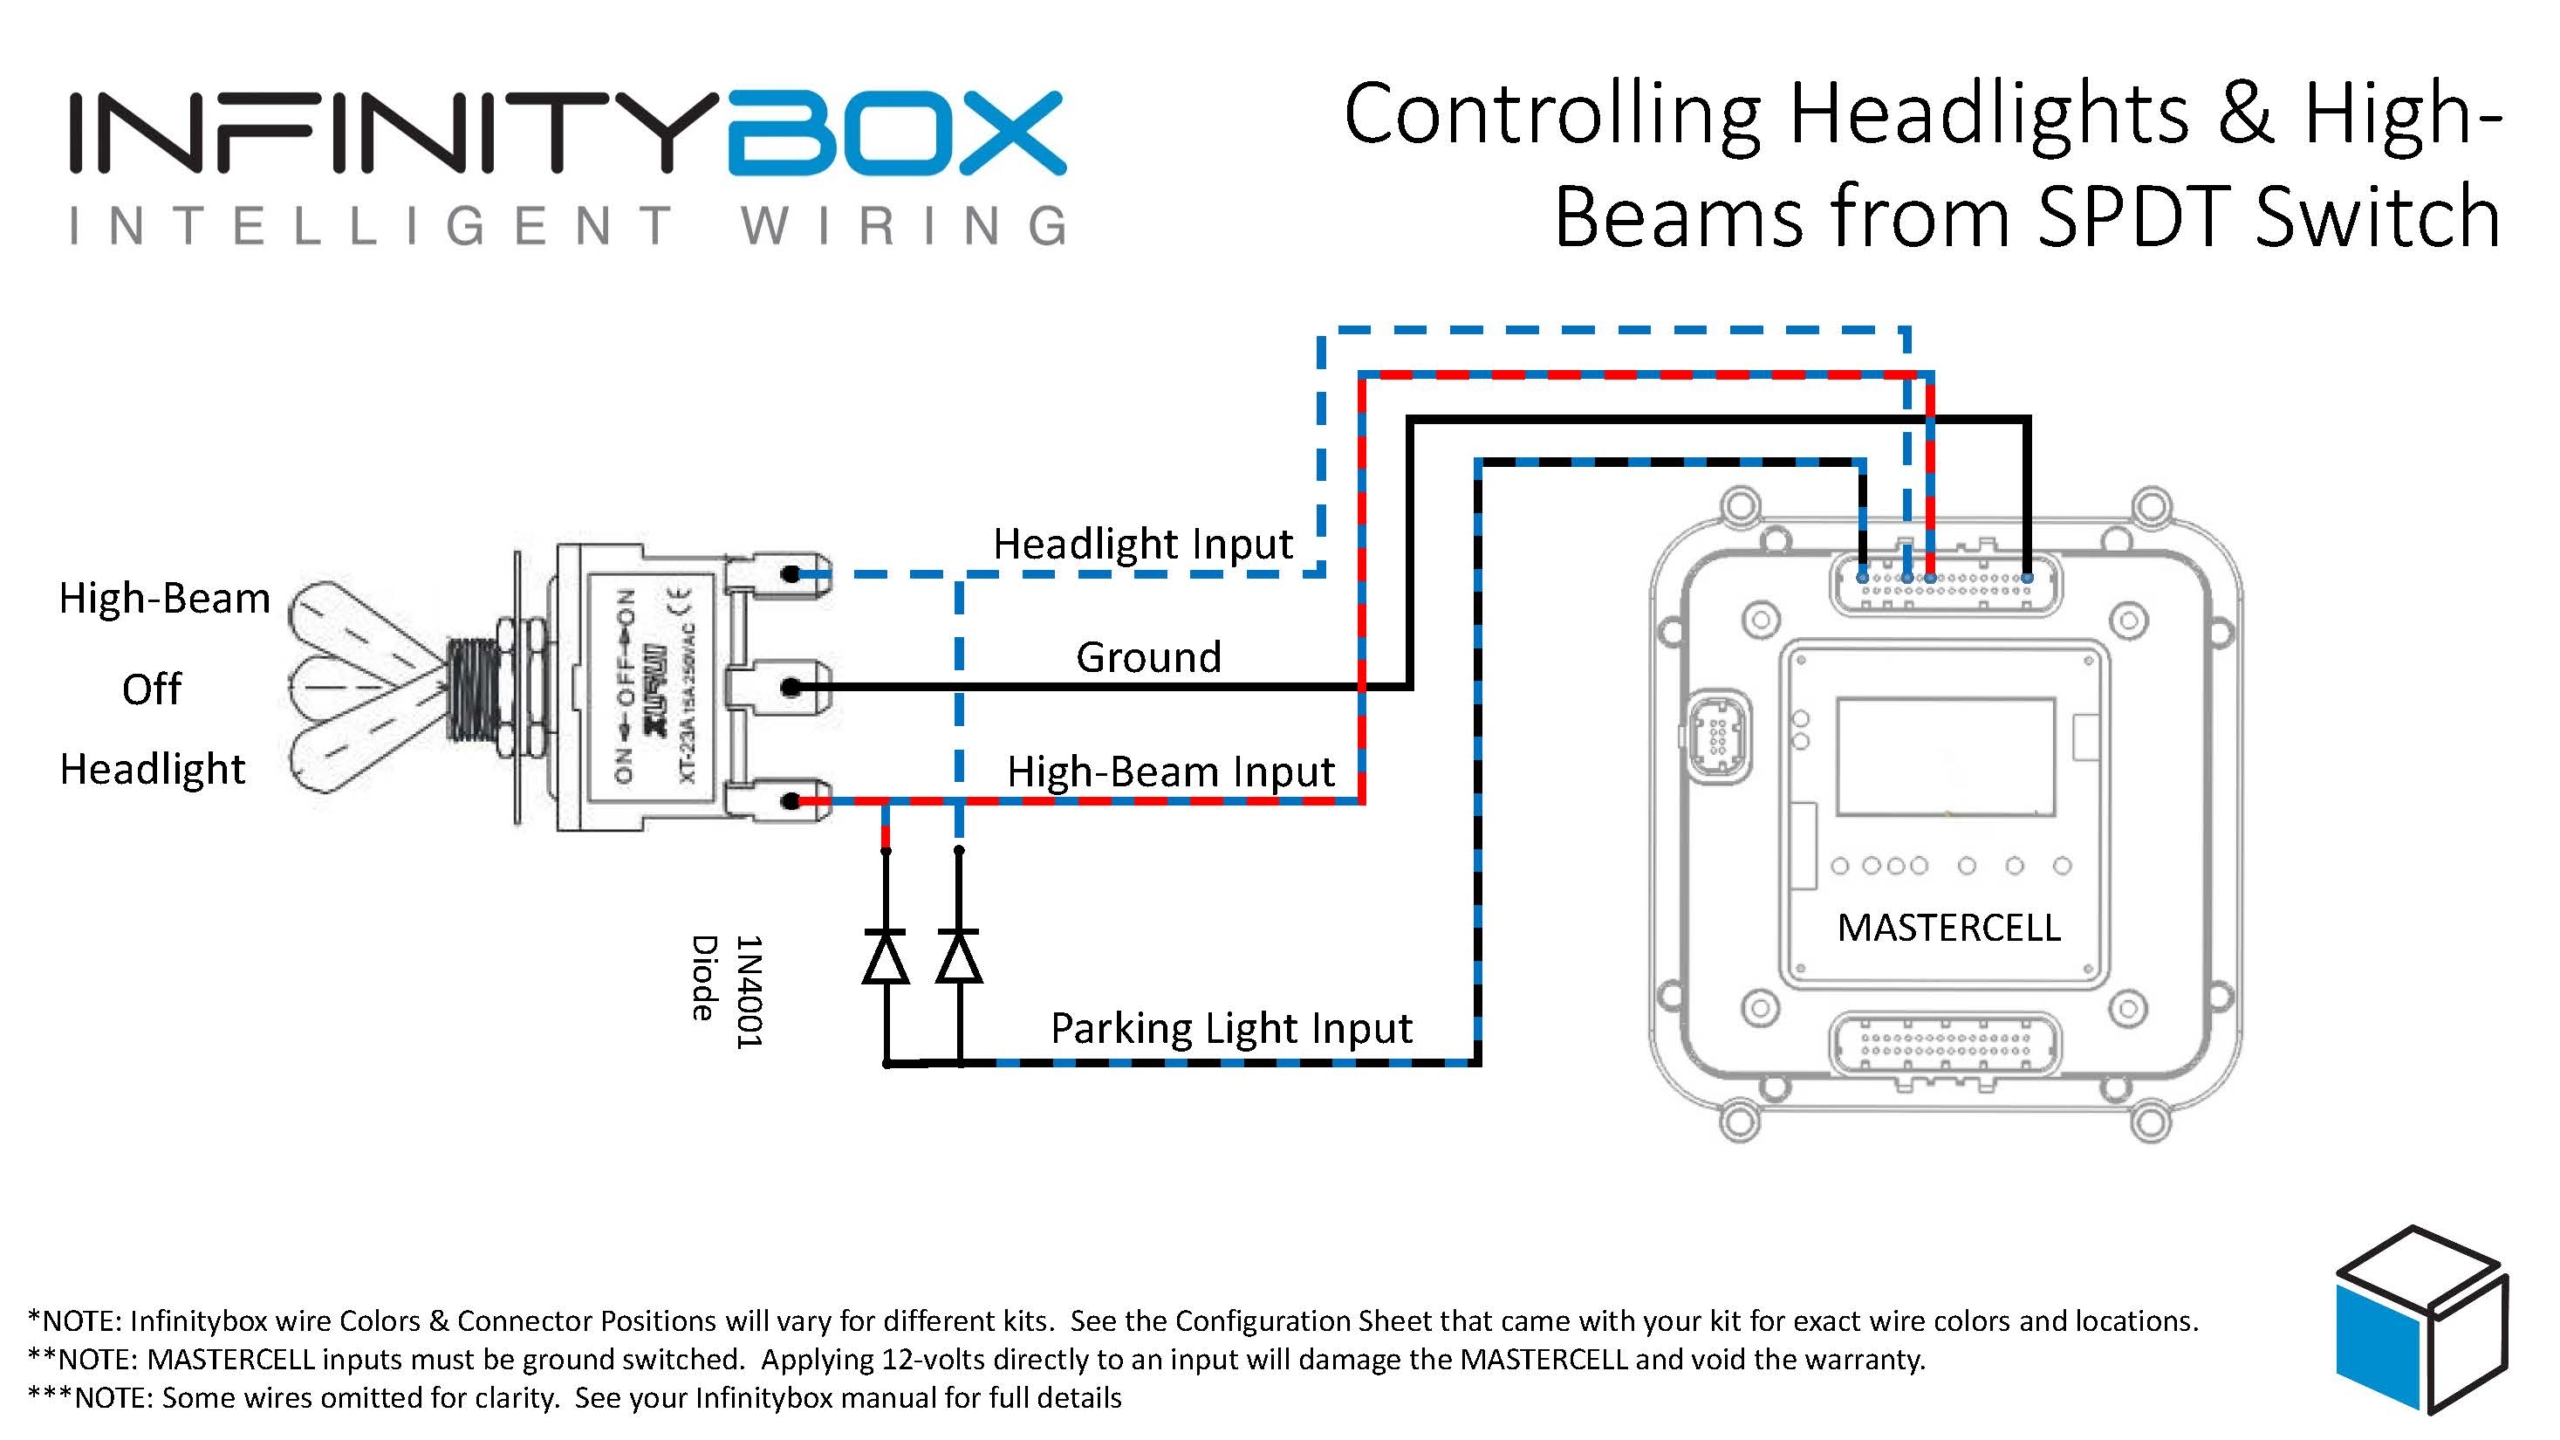
Picture of a wiring diagram showing how to wire a SPDT switch to control headlights, parking lights and high-beams with the Infinitybox system
The MASTERCELL input for the headlights connects to the top terminal of the switch. The input for the high-beams connects to the bottom terminal of the switch. The middle or common terminal of the switch needs to get connected to ground. This can go to the chassis or can connect to one of the black ground wires in the MASTERCELL input harness.
When the switch is in the middle position, nothing is connected so the headlights and high-beams are off. When you flip the switch to the down position, the input for the headlights gets connected to the center terminal, which is ground. This triggers the headlight input on the MASTERCELL. To turn on the high-beams, you flip the switch to the up position.
For your parking light input, you need to wire this to both the headlight and high-beam contacts on the switch but there is an important step that you need to follow. If you were to just wire the parking light input to the headlight and high-beam terminals on the switch, all of the inputs would be electrically connected together. All three outputs would turn on at the same time in either the headlight or high-beam position. You need to isolate the headlights and high-beams with diodes for this to work properly. You need to connect the MASTERCELL input for the parking lights to the headlight and high-beam terminals through two diodes. These diodes should be a 1N4001 rectifier and these can easily be purchased from Amazon. The diodes act like one-way check valves. They do not let the parking light input connect between the headlight and high-beam input. The orientation of these diodes are very important. If they are wired backwards, this will not work. Please look at the wiring diagram for proper orientation of these diodes.
When the switch is flipped to the headlight position, the parking light input gets connected to ground through the diode. The same thing happens when the switch is in the high-beam position. The parking lights will turn on when the switch is in the headlight of high-beam position if you follow this wiring diagram.
You can download a PDF copy of this wiring diagram by clicking this link.
If you have questions about this wiring diagram or need specific help wiring your car with our Infinitybox system, click on this link to contact our technical support group.
 Copyright 2022 Infinitybox, LLC. All Rights Reserved.

 The Infinitybox MASTERCELL
  Copyright Infinitybox, LLC 2021. All Rights Reserved.


Trackbacks & Pingbacks
[…] This same approach can be used for other switches like your lighting. We posted a wiring diagram a while ago showing you how to wire your head lights and parking lights from a single switch using a similar arrangement. You can view that blog post by clicking this link. […]
Leave a Reply
Want to join the discussion?Feel free to contribute!